Showing posts with label Baking. Show all posts

Wednesday, October 20, 2010

Soft Sugar Cookies

I may have been neglecting my sewing and crafting, but I would never neglect my husband's sweet tooth.

This is his all time favorite cookie. I think they are pretty good, but then again, I don't really like cookies that don't involve chocolate.  ;)

Here is the recipe:

3/4 c sugar
 2/3 c Crisco shortening
1 egg
1 tsp vanilla
4 tsp milk
1 1/2 c flour
1 1/2 tsp baking powder
1/4 tsp salt

In large bowl, cream together Crisco, sugar, and vanilla.
Add egg and milk. beat until light and fluffy.
In separate bowl, sift together flour, baking powder, and salt.
Add to sugar mixture 1/3 at a time until incorporated.

Scoop onto parchment lined baking sheet by rounded teaspoons.  (You can leave alone, which is what I do, or you can press them down a bit.)

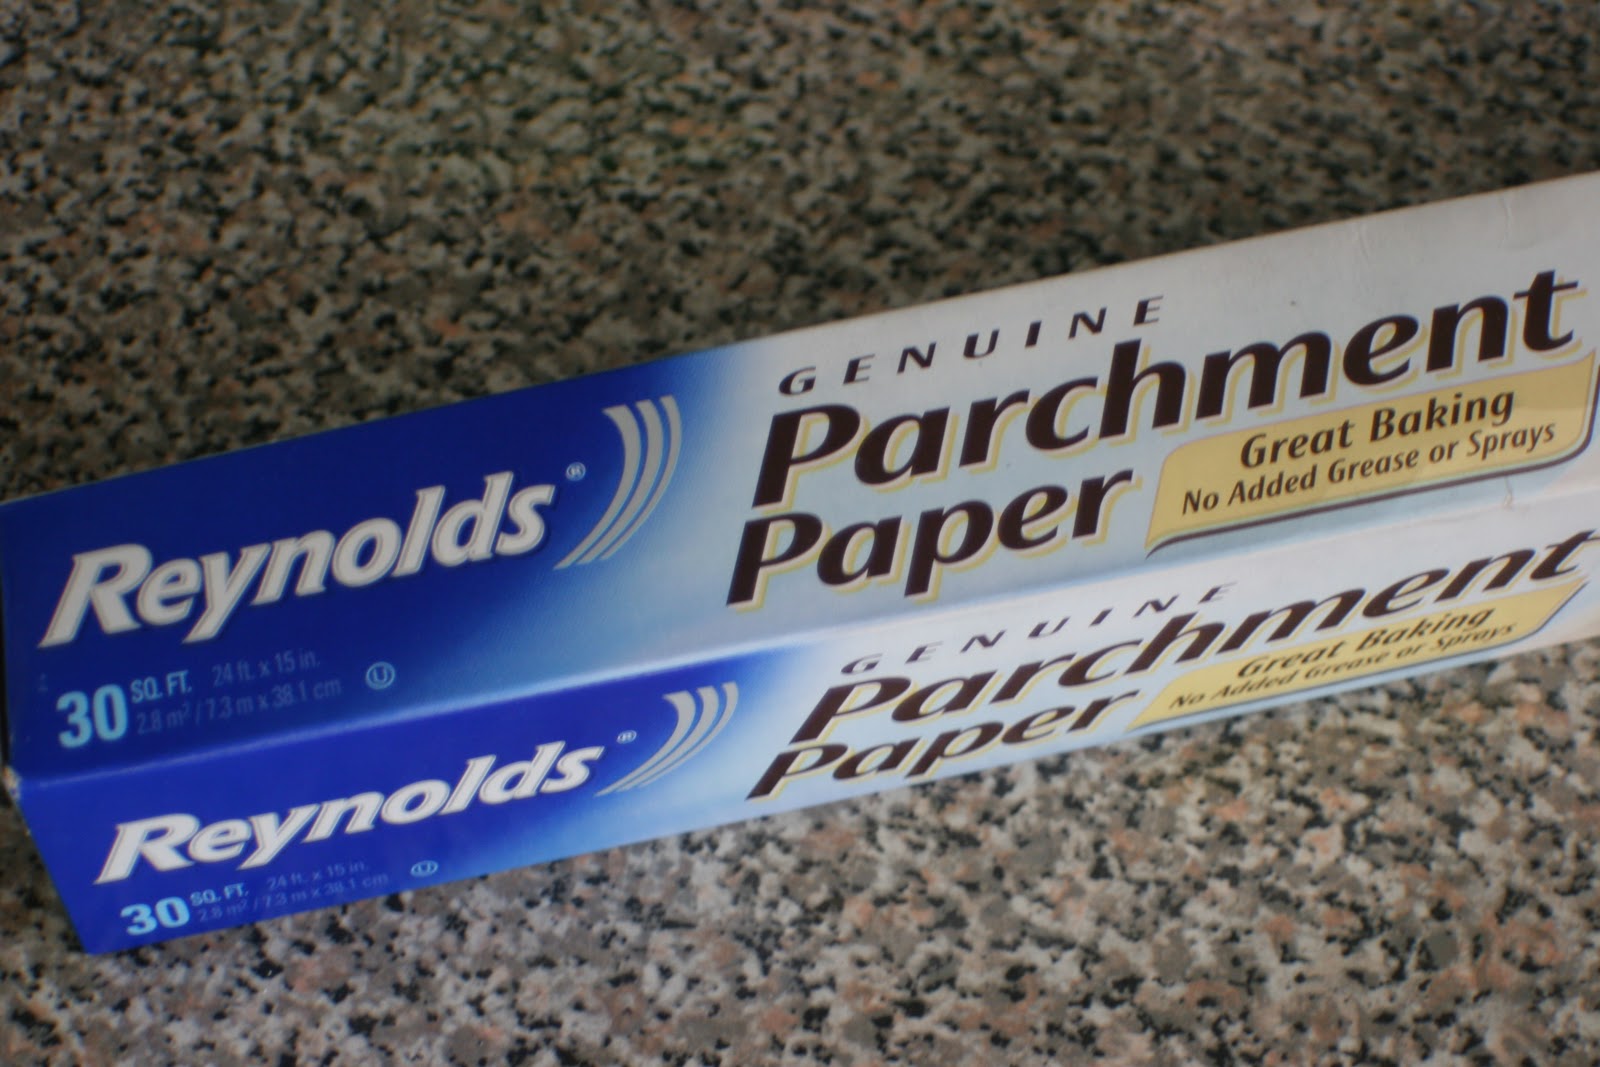
(Parchment paper is my favorite discovery. I won't bake cookies without it!  It keeps them from sticking, and prevents the bottoms of the cookies from being darker than the top.  Love the stuff. You can find it on the same aisle as ziplocs and wax paper.)
Bake at 375 for 8-12 minutes. 
Mine took exactly 12.
It will depend on how big your scoops were.

They will remain a light color.  If they turn golden brown, they are over baked!
Let cool for a minute or two on baking sheet, then move to wire cooling rack.
Once cool, top with your favorite frosting or icing.


For my icing, I sifted 2 c powdered sugar and added just under 1/4 c milk.
(Start with less, add more if needed.) 
Beat until smooth. 
Add desired food color. 
Spoon onto your cookies (or dip them right in!)

**UPDATE** I guess I make teeny cookies! :) I roll mine into about 1-1 1/2 inch balls, and get a ton of cookies. Roll em however you want...I just like these babies to be on the smaller size.
I also have discovered a frosting recipe that sends these over the edge in the yum department.
Frosting
1 stick softened butter (the good stuff like Land o' Lakes)
1 lb powdered sugar
1 tsp vanilla extract
1/4 c water plus extra as needed
In a stand mixer fitted with the paddle attachment, beat the butter until smooth, about 20 seconds. Add the powdered sugar, vanilla extract and 1/4 cup water. Beat on low speed until combined. Increase the speed to high and beat until the mixture is smooth, adding more water, as needed, 1 teaspoon at a time, until the frosting is spreadable. Divide the frosting between 3 small bowls. Color the frosting by mixing in 1 drop of food coloring at a time, until the desired color is reached. Spread the frosting over the cooled cookies and decorate.
(found here)

Happy baking!

Today I am thankful for our wonderful church.

Thursday, September 9, 2010

Peach Cobbler-Texas Style


My husband's grandpa is so sweet.
He lives about 2 hours away from us, and every summer, a peach farm from Colorado brings a truckload of peaches through his town. He always buys us a case and sends it our way. I'm talking huge, ripe, sweet, and super juicy, farm-grown peaches.

My mouth is watering just thinking about it.

Last year, we weren't able to eat them all (a case holds about 50 big peaches).
This time I was determined to not let that happed, so I decided to find a peach cobbler recipe.
Apparently there is a great debate whether cobbler should have a pastry style crust, or dumplings. I'm all crust, all the way, baby. I found this recipe, altered it just a bit, and it was delicious. And I don't even like cooked fruit.

Here is the recipe I used, with the teeny modifications I made. All I did was add some cinnamon to the peach mixture, and put the first crust under the cobbler, rather than in the cobbler. Oh, and the recipe calls for a 9 inch square baking dish. I used a 9x13 rectangle glass pyrex dish.

Pastry Crust:
2 1/2 cups all-purpose flour, plus more for shaping and rolling
1 tablespoon sugar
1/2 teaspoon salt
12 tablespoons cold unsalted butter, cut into small pieces
4 to 6 tablespoons ice water

Peach Filling:
4 tablespoons unsalted butter
1/2 cup sugar, plus more for sprinkling
1/2 cup water
1/4 teaspoon freshly grated nutmeg
1/4 tsp cinnamon, plus more for sprinkling
Pinch salt
10-14 ripe peaches, peeled, pitted, and cut into 1/4-inch thick slices 
3 tablespoons all-purpose flour
2 tablespoons heavy cream

For the Crust:
Place flour, sugar, and salt in a food processor and process for 5 seconds. Add butter and process until the mixture resembles coarse meal. Add water, a few tablespoons at a time, until the dough just comes together.
Remove dough and knead lightly on a lightly floured surface until it just comes together. Divide the dough in half and form into disks. Wrap each disk in plastic wrap and refrigerate for at least 30 minutes.

Once dough is chilled, remove from the refrigerator and roll each disk into a 9x13-inch rectangle approximately 1/4-inch thick. Place on parchment paper-lined baking sheets and return to the refrigerator to chill until ready to assemble.

For the Filling:
Melt butter in a large high-sided saute pan over medium heat. Add the sugar and water and cook until sugar is dissolved. Add nutmeg, cinnamon, salt, peaches, and flour and cook for 5 minutes.
Preheat oven to 375 degrees F.
Remove one crust from the refrigerator, and place in the bottom of 9x13 dish.
Bake until crust is golden brown. (This took me about 25 minutes or so...just watch it and get it as golden as your heart desires.)
Place the peach mixture on top of the golden crust, using a slotted spoon. I had quite a bit of juice left that didn't make it into the cobbler. I wanted that bottom brust to not get soggy, and it didn't! :) Top the peaches with 2nd layer of dough. Place on a baking sheet and brush the top crust with heavy cream, sprinkle with sugar (and cinnamon, if so desired) and return to the oven. Bake until the crust is golden brown and the juices are bubbly. (This took 30-40 minutes for me.) Let cool for at least 30 minutes before cutting and serving.
This stuff is sooo good served hot with vanilla ice cream.
Or even cold, straight from the fridge the next morning from breakfast. Yes, I speak from experience, people!

Today I am thankful that we still have our grandparent's in our lives, but sure do miss the two we have lost.


Wednesday, August 11, 2010

Chocolate Ganache Swirl Cheesecake

seriously. yum.
Again...my food styling is sub-par, but this is one Heavenly cheesecake. (this coming from a cheesecake fanatic!)

I made this a while back, and I have been craving it like crazy this week. Normally I would whip one up, but my husband doesn't like chocolate. That was hard to say. Who doesn't like chocolate? Sheish... Anyways it is his birthday week, so I am only baking things that he loves.  (plus, I ate this entire thing on my own last time...I really don't need to make that a habit. I don't want to have to buy all new jeans!)

I am working on a tute for Kanzashi flowers, (and making a lot of them) so I thought while I was working on that I would share something fantastic! The recipe can be found here.  Don't be suprised when it takes you to one of my favorite blogs.  Seriously I think I love it as much as I love this cheesecake. Wait, is that possible?

There are so many ways you can make this. Change the recipe up just a tad, and you have a completely chocolate cheesecake...which I am dying to make. Or leave out the swirl part and the ganache and you make my husband happy...it would break my heart, but I'd rather him be happy! :) On a side note-this was the first cheesecake I ever made, and it came out perfect. No cracks, moist, beautiful. I have always been intimidated by making cheesecake (not once have I been intimidated by eating one...) and this one was so easy! Don't be scared...if I can do it, so can you!

You NEED this cheesecake in your life.
and I just made my craving worse...I know what I'll be baking next week!


Today I am thankful for my bed. Man, did I need some sleep last night!


Friday, July 9, 2010

Blondies!

Buttery, chewey, delicious blondies.  YUM. 


See what I mean? (and I don't know what happened to the one on the top...)

I came across a recipe for bondies, tried it, liked it, changed it! ;) I can't help it! This is a really easy recipe...one for which I do NOT want to know that calorie count.  Heck, I don't want to know the calorie count for anything I eat.  I'm a firm believer that things just don't taste as good if you are well informed of nutritional content.  I have had a recipe for blondies for a while (that I can't find...sad) but it calls for cream cheese and several ingredients.  Aaaand it is rather expensive to make, and makes a large batch...which in all honesty, I can handle the large batch part. :)  I enjoy inexpensive recipes that I can whip up with pantry items, though.  This recipe is one of those.  I think that's a good and a bad thing.  I can't tell you how many times I was craving it and whipped a batch up on the spot.  My jeans might not appreciate that.  On to the recipe!

Blondies
ingredients
1 1/2 stick salted sweet cream butter (I usually use unsalted, but love the flavor the salted gives these!)
1 1/2 c dark brown sugar
1 1/2 c flour
1 tsp baking powder
1/2 tsp salt
2 eggs
1 tsp vanilla extract

directions
Preheat oven to 350.   In small-medium saucepan, melt butter and brown sugar.  Cook about 5 minutes or so over medium heat (lower if needed-you don't want to boil this), until sugar is melted-stirring often. Set aside to cool slightly.  In medium bowl, wisk together flour, salt, and baking powder.  In a large bowl, wisk together eggs and vanilla.  Add small amount of butter/sugar mixture while wisking to temper the eggs.  (Don't add too much at first, or you will scramble the eggs. Yuck)  Slowly pour in the remaining butter/sugar mixture, wisking the whole time.  Once well incorporated, wisk in the flour mixture, just until incorporated. Don't over mix!  At this point, you can stir in anything you like...macadamia nuts would be incredible, dried cranberries, white chocolate chips...you get the idea.  Do what feels right. :)  Grease and flour (or spray) an 8x8 baking dish. (Next time, I'm going to try muffin tins, and make blondie cups.)  Pour the batter into the dish.  You can bake plain ( like the one in the left of the picture) or swirl somthing yummy in.  My favorite is Nutella.  I dropped small balls of Nutella about 1 1/2 inches apart and used a knife to swirl it through the batter.  Peanut butter would also be delicious!  Bake for about 30 minutes.  The top will be nice and golden!


My husband doesn't like Nutella-GASP-I know, right? I still love him tremendously though. So, when I make these, I don't swirl Nutella throughout...just on half. 

*baking tip-use room temperature eggs when baking.  When all of your ingredients are the same temperature, it will turn out so much better! You can set them out on the counter for a while, or to speed things up a bit, place the eggs in a bowl of warm-NOT HOT-water.

Cool slightly and enjoy!

Monday, May 24, 2010

Things to do with refrigerated pie crust


I recently posted on Facebook that I was making Cinnamon Sugar pie crust, and I was surprised by the response I got, so I thought I would share it with you!  When I was little, my mom would buy Pilsbury refrigerated pie crust, roll it out onto a cookie sheet, sprinkle it with cinnamon and sugar and bake it.  It was such a treat for us, and it was so easy and cheap for mom!  Talk about the best of both worlds!  Now that I am a mom, I love simple recipes that seem like a special treat for my family, but are shockingly simple for me to make. I really love spending the day in the kitchen baking, but let's be honest...after spending my day chasing little ones and taking care of the house and meals, sometimes I just don't have the time or the energy to whip something up from scratch.  And honestly, sometimes the quick, semi-homeade stuff is just as good as something that I spent 2 hours on!  This is one of them.  I prefer to use the store brand (around here it is Food Club) because it is actually lighter and flakier than the name brand. Of course it would be amazing with pie crust from scratch, but after it comes out of the oven, it will be gone in 3.2 seconds...so I don't think anyone would even be able to tell it wasn't scratch crust! But, if you insist, Pioneer Woman has a great pie crust recipe that you should give a whirl.  Back to business.  I apologize for the lack of pictures, but when I made this last night, we inhaled it so quickly I didn't even have time to turn my camera on.  The packages come with 2 crusts, so let's do it this two ways. :)

Cinnamon Sugar Pie Crust
1 refrigerated pie crust
Cinnamon
Sugar

Remove crust from refrigerator and let it sit at room temperature for about 15 minutes. Preheat oven to 425*.  Unroll the pie crust onto a baking sheet, and get it to lay flat. sprinkle a little cinnamon on it-I didn't measure these, because I just sprinkle however much I want on there.  It really doesn't take much though.  Then sprinkle with sugar.  You want enough to give it a sugary crunch, but you don't want to over power it, either.   Pop it in the oven and bake it until golden brown.  I think it took mine 15 minutes or so, just keep your eye on it.  No one likes a burned dessert!  Cut it into triangles like a pizza (how many you get, is determined by how big you cut them.)

My husband and I can easily demolish a whole one by ourselves right out of the oven! I'm somewhat ashamed to say that, but it's so delicious that I don't even care.  Sometimes we just eat it as is because we don't have time to decide what to top it with due to the fact that we already inhaled 1/2 of it.  But it is SO good topped with vanilla ice cream, and drizzled with caramel and chocolate sauce.  Don't be ashamed if you find yourself licking your plate.  I'm sure you won't be the first...or the last.


Strawberry Shortcake Pie
1 refrigerated pie crust
sugar
strawberries
fresh whipped cream (can use cool whip)

Wash and stem strawberries.  Cut them into the desired size, and sprinkle with sugar.  For one pound, about 3-5 tbsp sugar should be plenty. Stir, and set aside for about 30 minutes.  They will give off a delicious juice.  If you want to get fancy, splash a little balsamic vinegar in there as well...I never do, because the sugar and strawberries keep a wonderful fresh, simple flavor that, in my opinion, can't be beat. Remove crust from refrigerator and let it sit at room temperature for about 15 minutes. Preheat oven to 425*. Unroll the pie crust onto a baking sheet, and get it to lay flat. (At this point you can use cookie cutters to cut individual pieces, or bake in one piece to cut later.  If you do cut it before, just make sure the pieces are not touching each other on the baking sheet.)  Sprinkle with desired amount of sugar, and bake until golden.  Just keep an eye on it.  Sometimes it bakes more quickly than others, especially if it is already cut into individual pieces.   Remove from oven, cut (if you haven't done so already) and top individually with strawberries (don't forget to add some of the delicious syrup the sugar created) and whipped cream.

For the fresh whipped cream, pour desired amount of heavy whipping cream into a bowl.  Beat with a mixer to incorporate some air.  Once it starts to come together just a bit, add powered sugar.  Beat until peaks form when you pull you mixer out of cream.  (be sure to turn it off first though! ;)) Don't over mix, or it will become like butter...not fluffy and light like it should be!  For 1 1/2 cups of cream, you will need about 1/4 c powdered sugar.  I never make that much, because the cream will about tripple in volume from what you initially poured into the bowl.

Go forth, bake easy desserts, and make your family's tastebuds happy!